Create Your First Spec in Kiro IDE and Accelerate Your Development
A step-by-step guide to set up Steering Docs, create a Spec, and run tasks with the AWS IDE.
If you refactor more than you write, your assistant has a memory problem.
This happens to us constantly. Most of us who use AI for development run into hallucinations, code with bad practices, and excessive token waste. The cause is always the same: poorly managed context. In this guide you'll see how Kiro helps us solve this problem by creating documents that give your assistant persistent memory.
Context Is the Problem
According to GitClear, in a study carried out after the arrival of artificial intelligence, code duplication increased fourfold.
The problem lies in the context. A new session means a new memory, and in many cases this gives the assistant room to assume instructions it was never given. Some common cases are:
- Assuming any architecture or code style.
- Adding features that aren't part of the request.
- Generating duplicated or inconsistent code.
The solution isn't writing longer prompts. It's giving the model structured memory.
Kiro IDE: A Code Assistant with Memory
Kiro IDE is the development environment created by AWS. It's built on Code-OSS, the same open source base that Microsoft's VSCode uses.
Kiro assists development using the Spec Driven Development methodology natively. This means we first create documents where we specify the functionality, gather requirements in structured natural language (EARS — Easy Approach to Requirements Syntax), design the technical proposal, and define an implementation plan.
What Does Kiro Offer Us?
Its interface lets us:
- Improve the observability of the tasks the agent implements.
- Debug and optimize the context window.
- Keep Specs up to date.
- Run multiple tasks across different sessions without losing coherence.
How Does Kiro Organize Context?
Kiro manages information across three layers of memory:
- Steering Docs (long term) — They define architectural decisions, code style, and repository structure. They change rarely over the life of the project. They're added at the start of every conversation. You can customize their frequency and content.
- Specs (medium term) — They document the requirements, design, and tasks of a specific feature. They're consumed only while that feature is being developed. They're versioned and stored to maintain traceability.
- Chat / Session (short term) — The conversational context of each interaction with the assistant. It's discarded when the session ends.
When to Use Vibe and When to Use Spec?
Kiro offers two modes for interacting with the assistant. Choosing the right one depends on the complexity of the task.
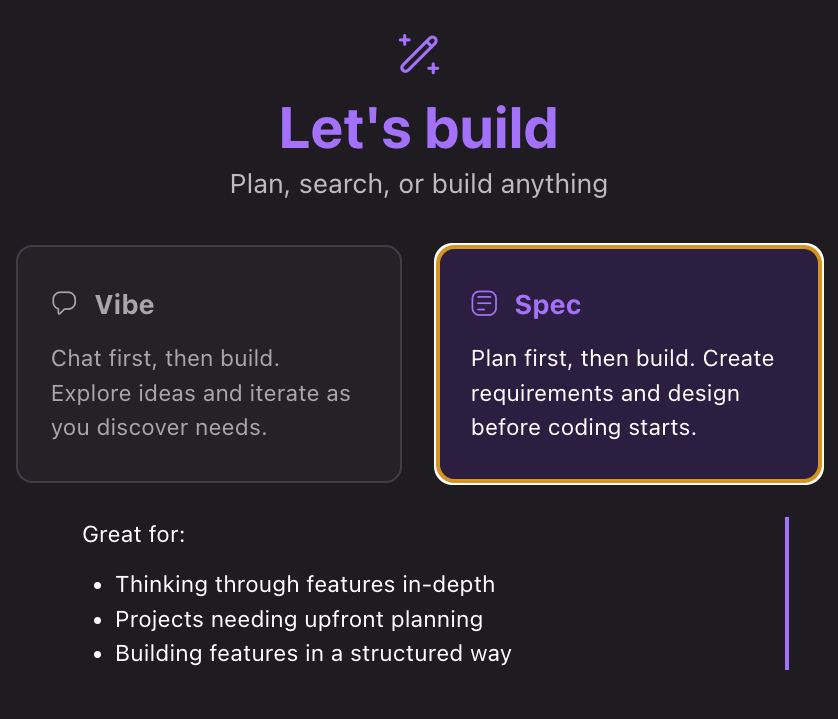
Use Vibe when:
- The task is small or in an exploration stage.
- You need fast results (small fixes, code explanations).
- The context fits in a single prompt under 50 lines.
- One session is enough to meet the goal.
Use Specs when:
- You need to modify several files or components.
- More than one person will work on the same feature.
- You need to validate acceptance criteria.
- You have to align frontend and backend.
- The work spans multiple sessions.
- You need to justify decisions for code review.
Rule of thumb: if you can describe the task in a single paragraph, use Vibe. If you need to think about where to start, use Specs.
Hands On: Create Your First Spec
Scenario: We need to implement a review system in an ecommerce. This requires a full CRUD (create, read, update, and delete) and modifying several files, so it's an ideal case for Specs.
Step 1: Open the Project in Kiro
Open your project with File > Open Folder or from the terminal with kiro .. In the left sidebar, click the Kiro icon (the ghost) to access the main panel.
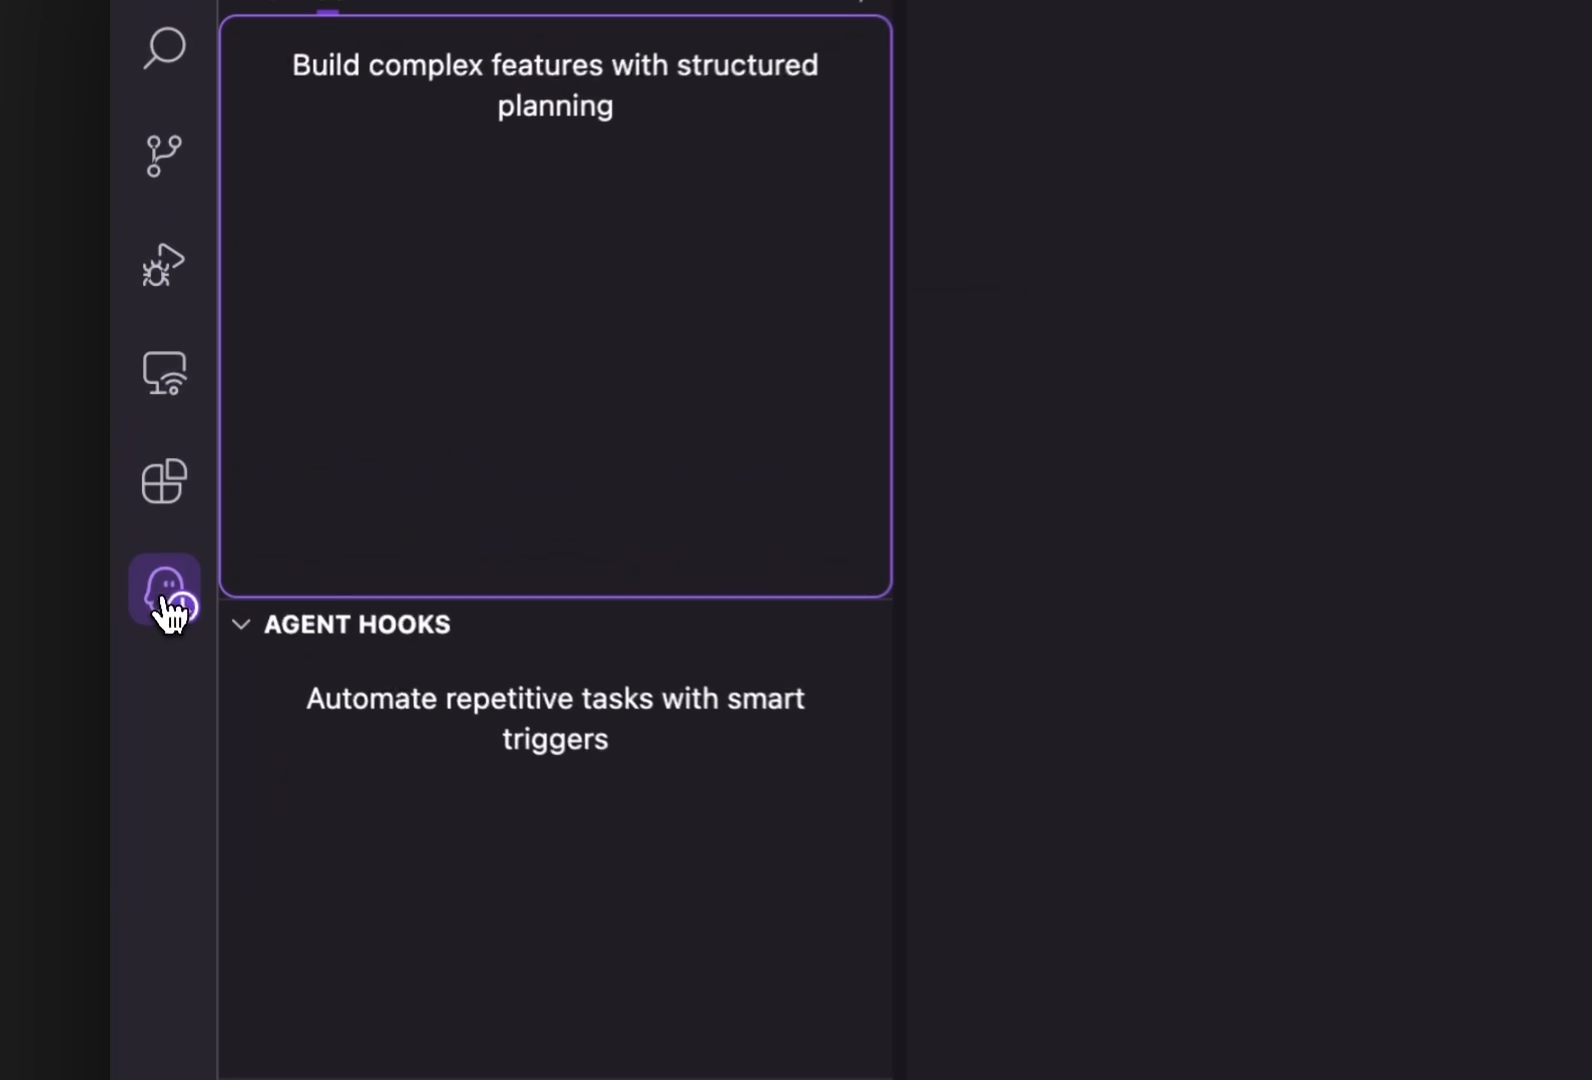
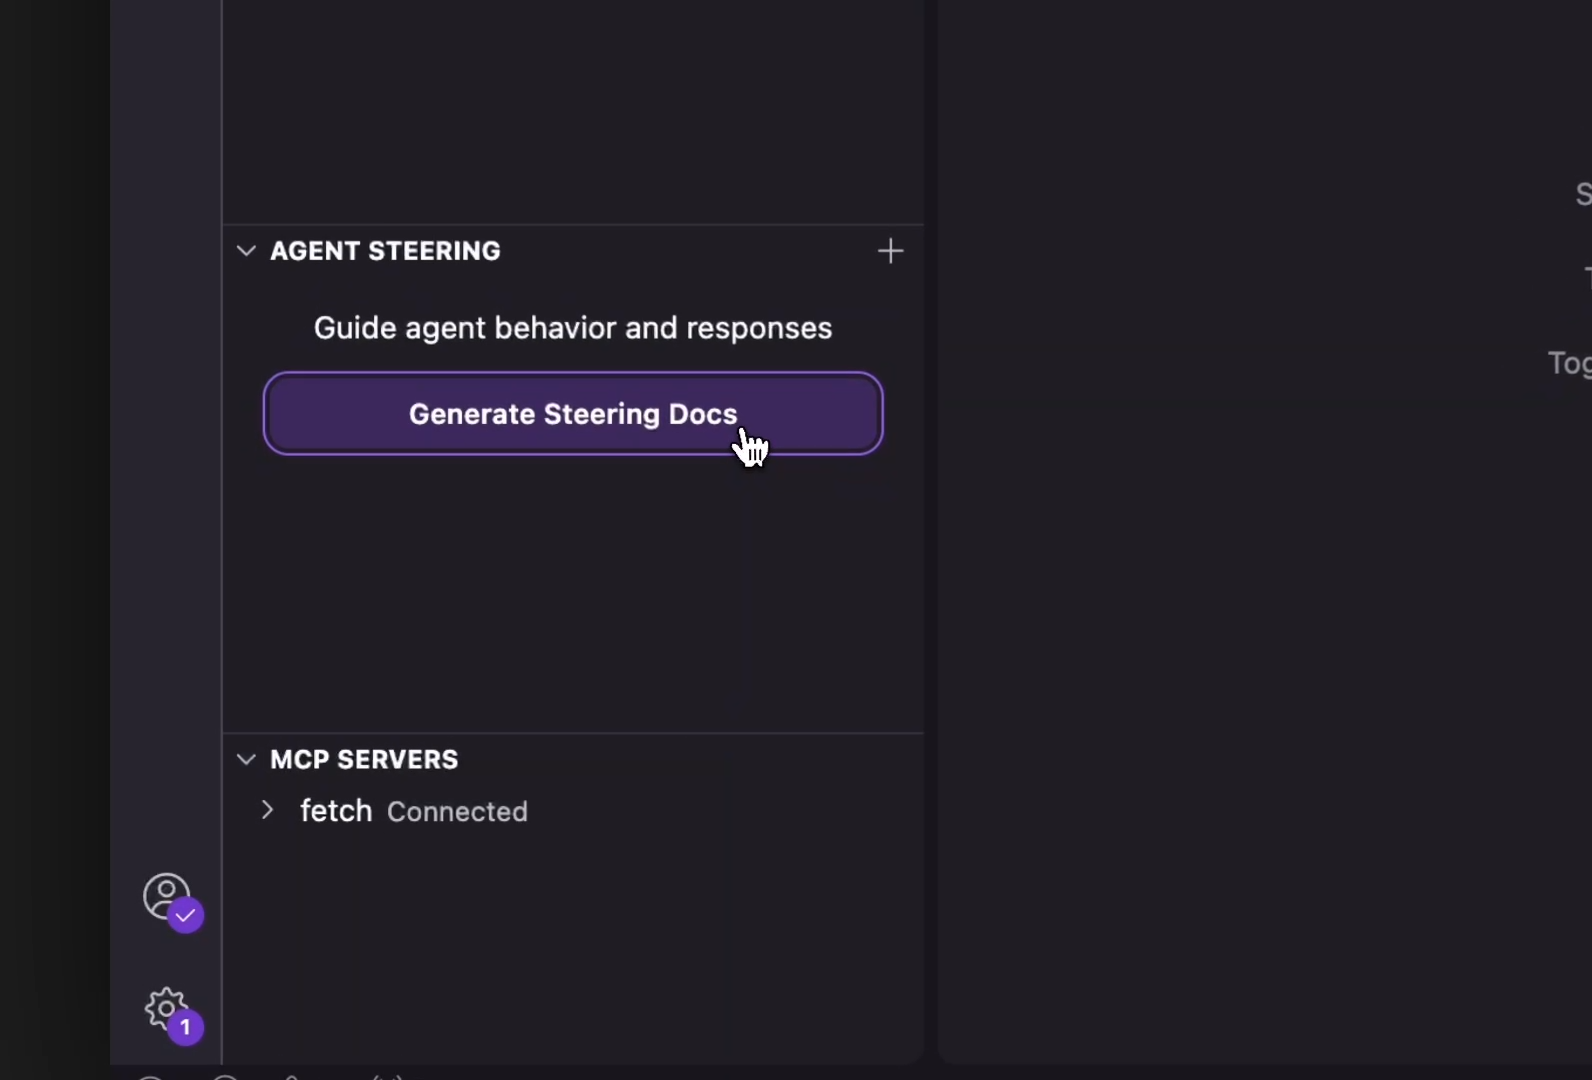
Step 2: Generate the Steering Docs
When we start a project in Kiro for the first time, the most common thing is to create the Steering Docs. These files give it context about your project: tech stack, folder structure, and code conventions.
In the Kiro panel, select Generate Steering Docs. Kiro analyzes your repository and generates documents in .kiro/steering/ that guide its behavior in all future interactions.
Step 3: Create Your First Spec
Specs turn a feature idea into a structured implementation plan. They go through three phases:
- Requirements — User stories with acceptance criteria in EARS notation.
- Design — Technical architecture and implementation approach.
- Tasks — Discrete, trackable steps to execute.
To create a new Spec, click the + button in the Specs section of the Kiro panel.
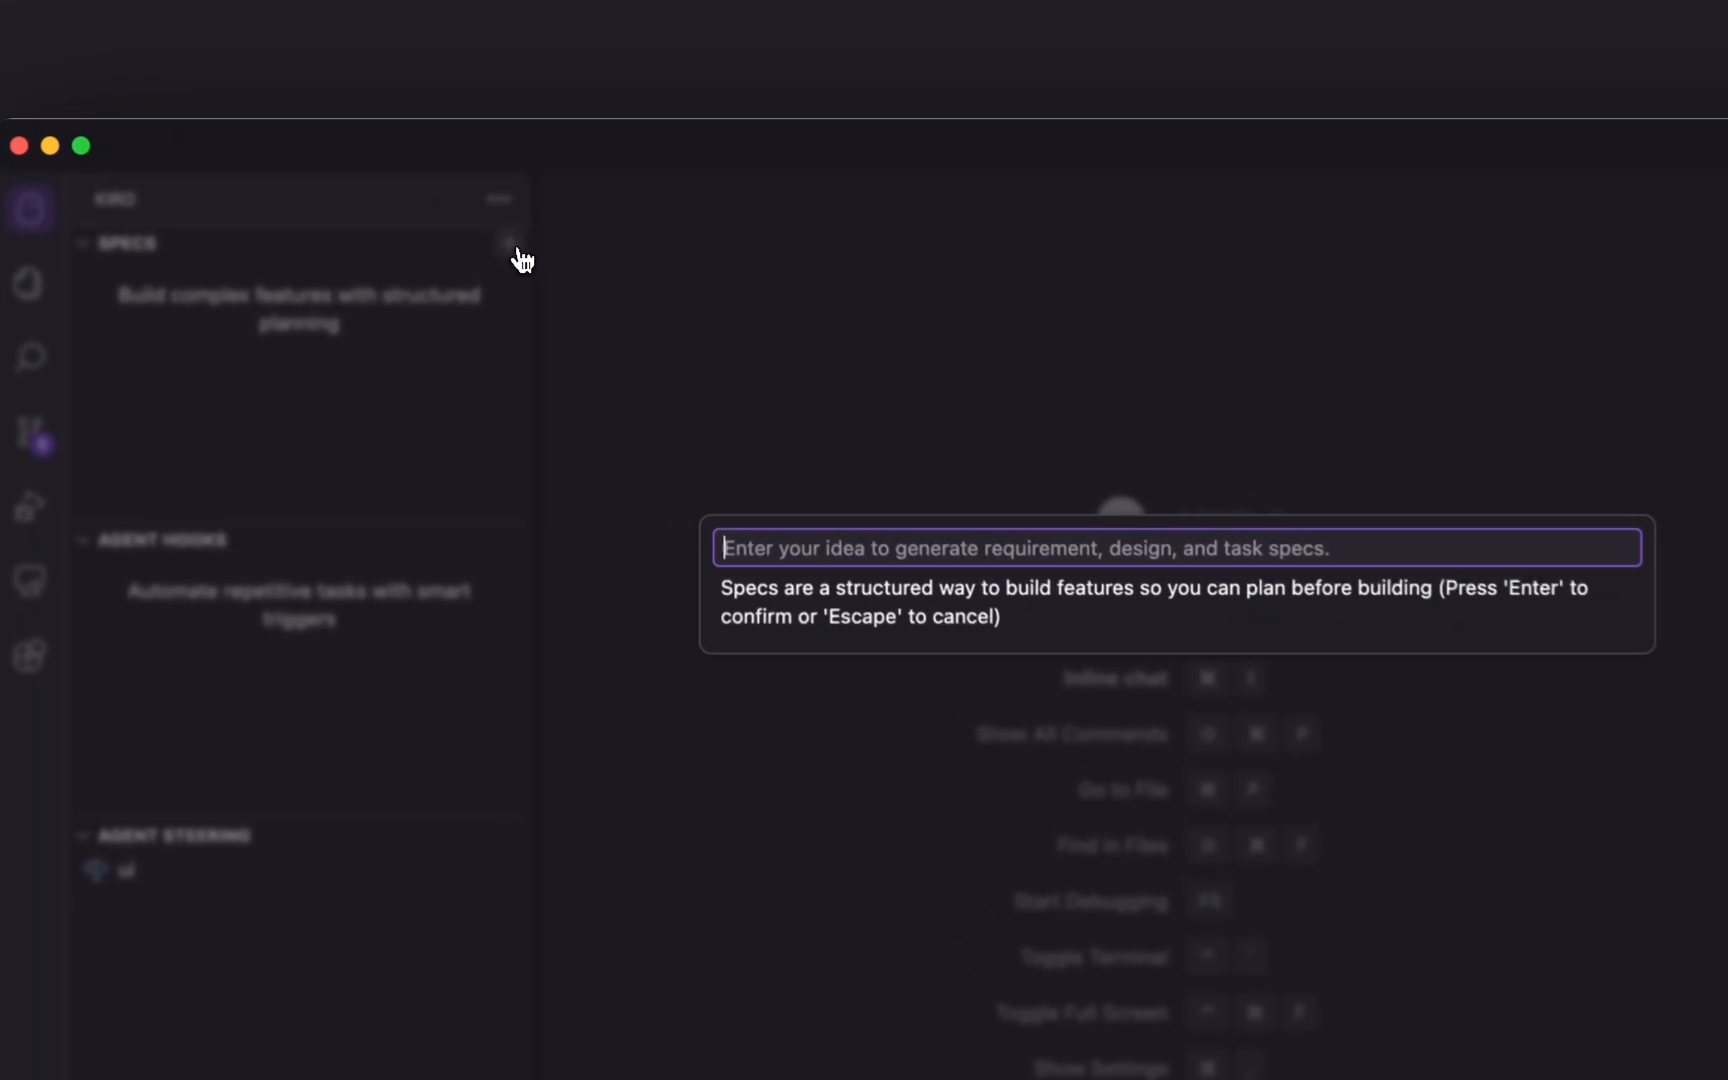
Describe your feature in natural language. In our case: "Implement a product review system where users can rate with stars, write comments, and see the average rating."
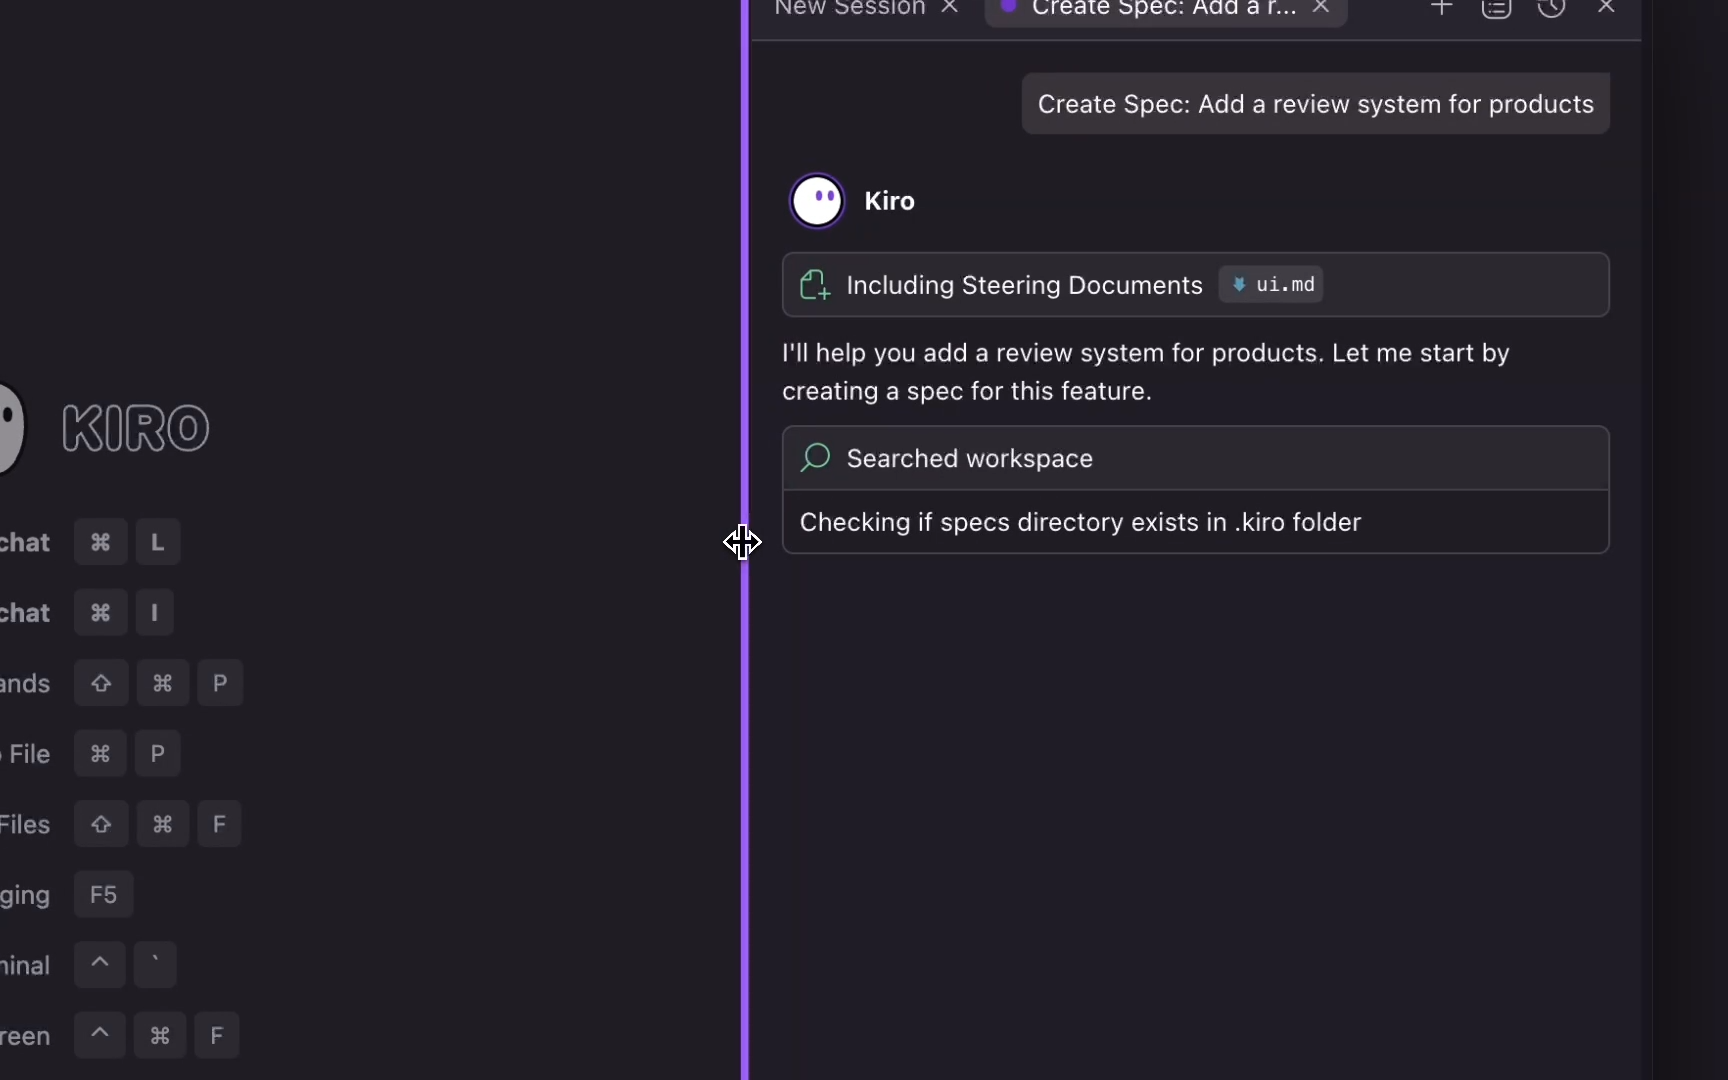
Kiro guides you through the flow: first it structures the requirements, then it generates the technical design, and finally it creates the implementation tasks.
What Does Each Document Generate?
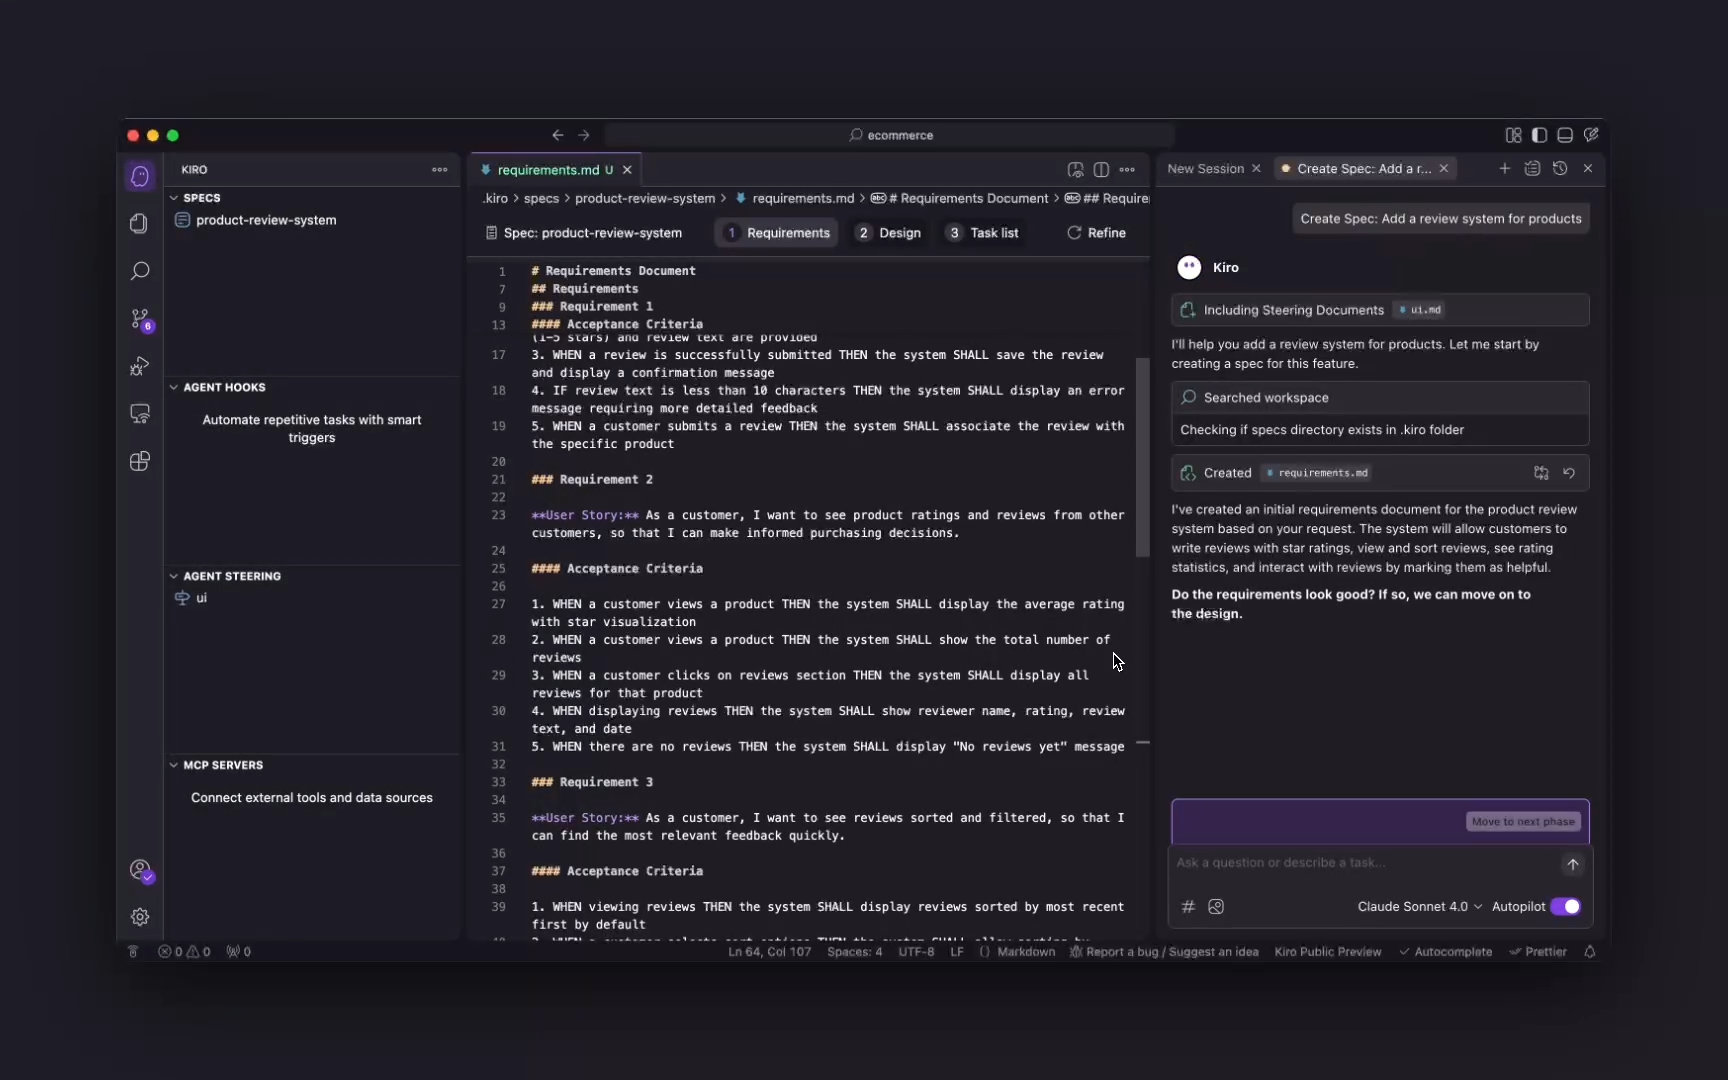
requirements.md — Defines what needs to be built:
# Requirements
## Introduction
## Glossary
## Requirements
  ### Requirement 1: [Title]
    **User Story:** As a [role], I want [action], so that [benefit]
    #### Acceptance Criteria
      1. WHEN [event] THE [system] SHALL [behavior]
      2. IF [condition] THEN THE [system] SHALL [response]
design.md — Defines how it's going to be built:
# Technical Design
## Overview
## Architecture (Mermaid diagrams)
## Components and Interfaces
## Data Models
## Testing Strategy
## Error Handling
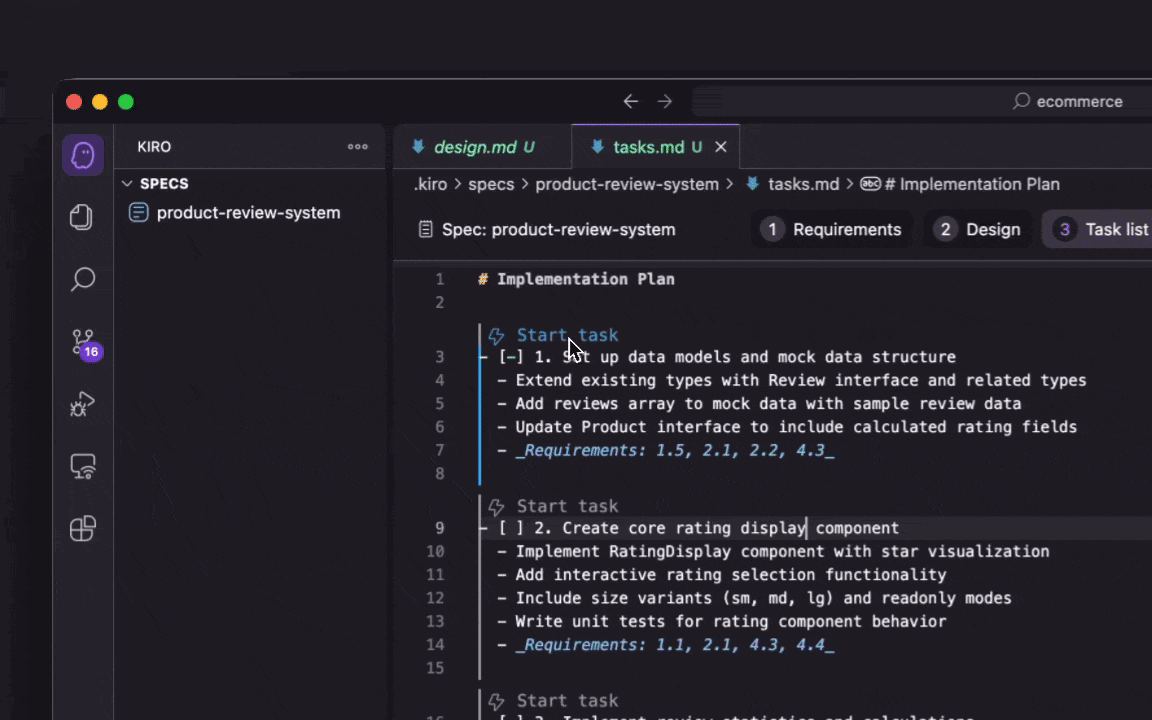
tasks.md — Defines in what order it's implemented:
# Tasks
## Overview
## Tasks
  - [ ] Task 1: [Title]
    - Files to create/modify
    - Completion criteria
    - Validated requirements (1.1, 2.1...)
## Task Dependency Graph (JSON with execution waves)
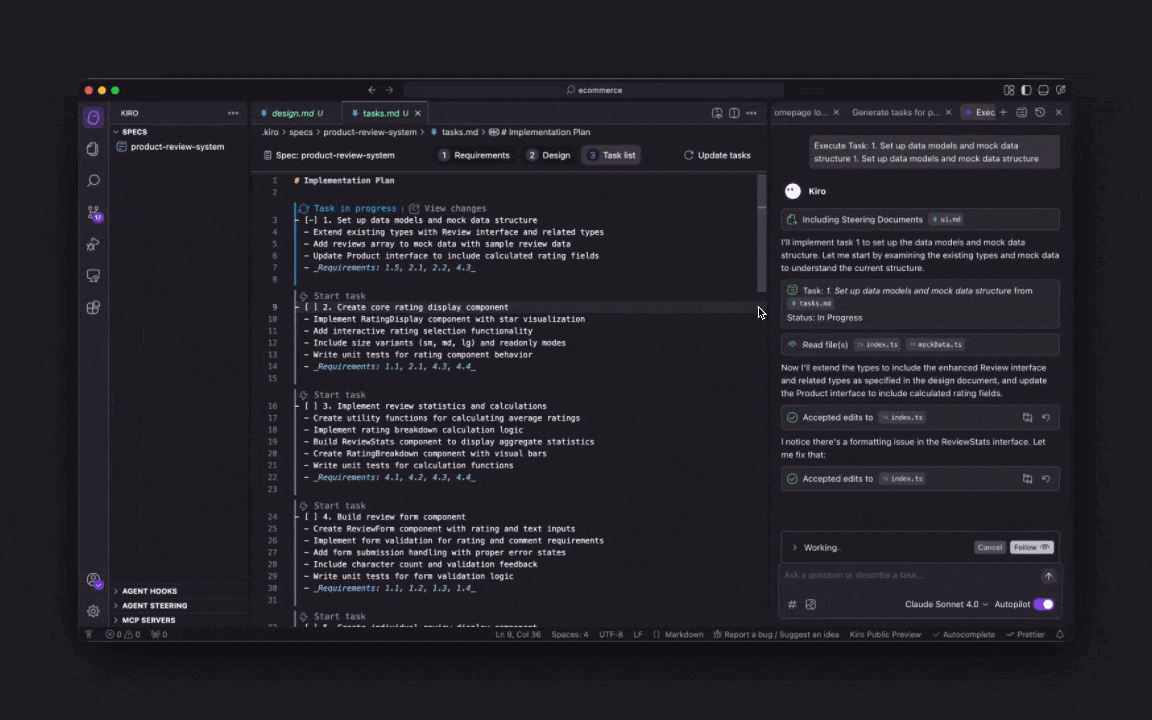
Step 4: Run the Spec's Tasks
Once your Spec is complete, review the generated tasks in the tasks.md file. Click an individual task for Kiro to start executing it. Progress updates automatically as each step is completed.
Tips and Recommendations
Review the generated deliverables. Spec-driven development is an iterative process. After each modification to the documents, assess whether the assistant's proposal is sound. Kiro recommends sharing these documents with the team to refine them.
Investigate before specifying. Before creating a Spec, use Vibe so the assistant questions you about what you're going to build. After about 5 minutes of exploration, switch to Spec mode with Start Spec and it will take the generated context into account.
Built-in traceability. The tasks document directly links the session and the generated code, so you can always jump to the code, the tests for each task, or the chat session where they were implemented.
Choose the right flow:
- If you have clear functionality → Requirements-First → start with the requirements document.
- If you need a technical evaluation first → Design-First → start with the design document.
- If it's a moderately simple goal → use the Quick Plan → answer a short questionnaire and generate the 3 files in a single interaction.
- If it's a complex production bug → Bugfix Specs → develop a document to analyze the different scenarios and ensure the cleanest solution.
If You Want to Keep Learning
- Explore the Spec flows (Requirements-First, Design-First, Quick Plan, Bugfix).
- Review how to structure Steering Docs for large projects.
- Configure MCPs to connect external tools and create Hooks to automate repetitive tasks.
In the next article in this series, we'll explore how to master Spec flows for complex features and get the most out of the technical design document.
What We Learned
Properly managing the context window is the key to getting consistent results from a code assistant. Kiro solves this with a set of documents that provide long-, medium-, and short-term memory. The result: more deterministic code, technically backed, and supported by versionable documents.
Have you tried Kiro yet? Tell us about your experience in the comments. If you found this article useful, share it with your team. Follow us on Medium for more content about AI-assisted development.
Sources and references: